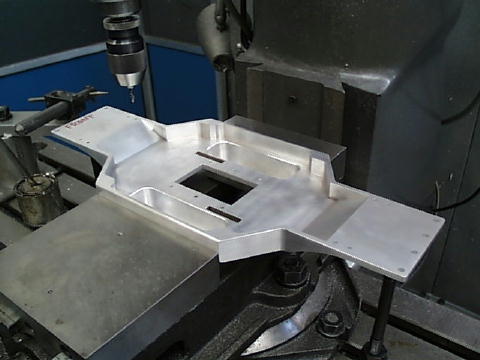
 The Chassis up until now has been totaly symmetric, the holes will now designate the front and rear.
The Chassis up until now has been totaly symmetric, the holes will now designate the front and rear.
 I actually wrote the word front to avoid any confusion on the final opps. A mistake this far along
would suck to say the least.
I actually wrote the word front to avoid any confusion on the final opps. A mistake this far along
would suck to say the least.
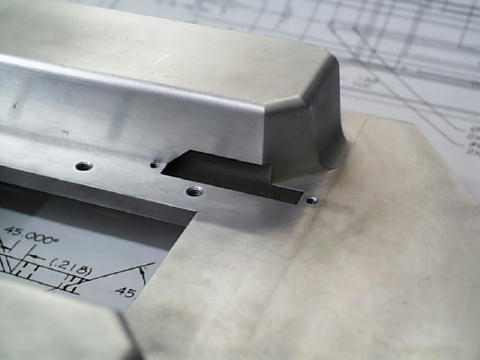
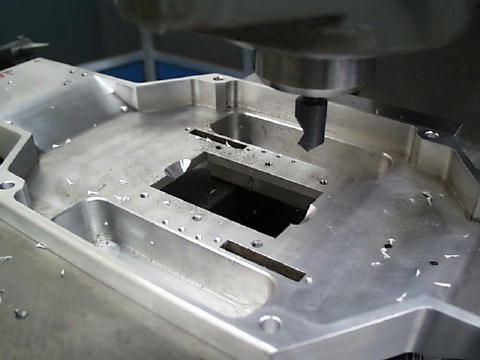 I used a 1/2" 90 degree countersink to mill a clearance for one of the trannys shafts and its bearings.
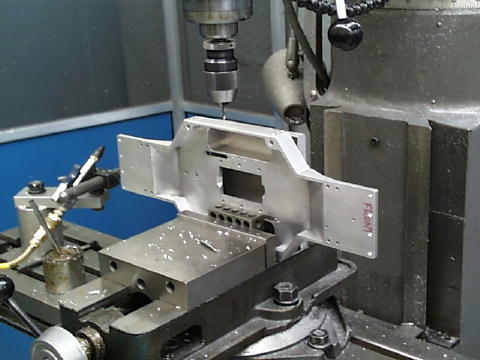 In this opp I drill the holes to mount the rollcage and battery strap mount.
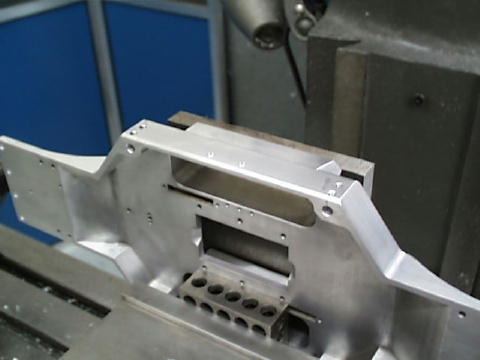 This picture shows the finished side hole pattern up close. I repeated the pattern on both sides.
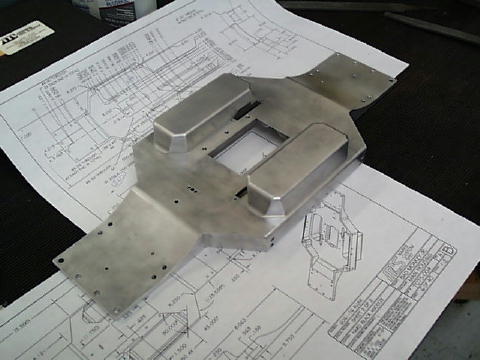
 There it is! The finished Chassis weighing in at 2.66 lbs. exactly as the Cad system calculated!
The Chassis is sitting on the prints I used to make it from.
There it is! The finished Chassis weighing in at 2.66 lbs. exactly as the Cad system calculated!
The Chassis is sitting on the prints I used to make it from.
 This picture shows the Chassis with the bottom side up.
 This picture shows a close up of the Sinker EDMed feature that will allow the steering cable to pass through
the Chassis.
This picture shows a close up of the Sinker EDMed feature that will allow the steering cable to pass through
the Chassis.
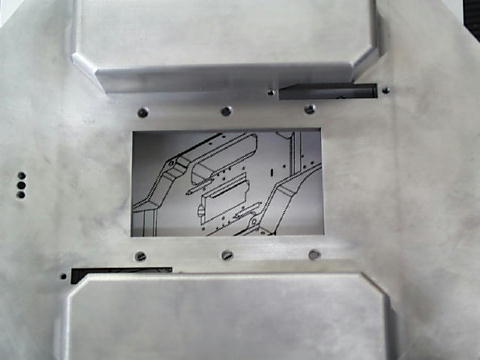 This picture shows the isometric view of the chassis showing through the finished chassis cutout.
CAD is a great tool!!!!!!!
This picture shows the isometric view of the chassis showing through the finished chassis cutout.
CAD is a great tool!!!!!!!
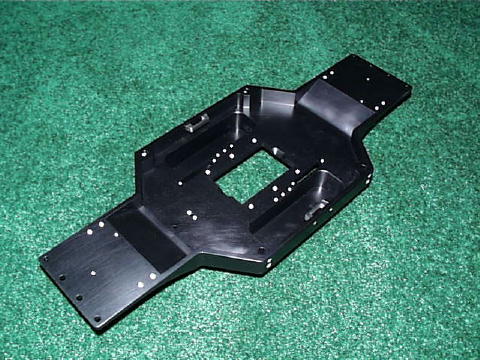
 The finished Chassis was plated .0015 thick Hard Black Anodize with a teflon seal.
 It looks really killer but its hard to photograph cause its black, sorry.
 This picture shows a closeup of the top pocket of the finished Chassis.
 That was by far the most complex part to machine on Bad Monkey Jr. I have over 24 hours of time invested
in this part alone!
That was by far the most complex part to machine on Bad Monkey Jr. I have over 24 hours of time invested
in this part alone!